The best telescope for beginners gives clear views without steep learning curves. This guide lists four easy picks and shows how they perform for new stargazers. It compares size, optics, mount type, and ease of use, and it explains why those factors matter for typical first-year observing. It helps buyers pick one that matches available time, budget, observing location (city vs rural), and interest (planets, Moon, deep-sky, or casual sky scanning). The tone stays practical and direct to speed decision making, with setup tips, common pitfalls to avoid, and suggestions for useful accessories that extend enjoyment without adding complexity.
Key Takeaways
- Choosing the best telescope for beginners means balancing aperture size, mount type, and ease of use to fit your budget and interests.
- A 4″ to 6″ aperture with an alt-az or Dobsonian mount offers clear, bright views and straightforward setup ideal for new stargazers.
- Budget-friendly beginner telescopes under $300 often feature small refractors or tabletop reflectors that deliver good lunar and planetary views without complexity.
- Proper setup includes aligning the finder scope in daylight, collimating reflectors carefully, and starting with low magnification to locate targets effectively.
- Practice patience and use resources like star charts, apps, and local astronomy clubs to enhance your experience and improve your stargazing skills.
How To Choose The Right Beginner Telescope (Quick Buyer Checklist)
Start by defining how you expect to use the scope: casual backyard observing, traveling to dark sites, or attempting basic astrophotography. Aperture is the single most important optical spec — it controls how much light the instrument gathers and determines how faint an object you can see. For general-purpose observing, aim for 4″ to 6″ (100–150 mm) aperture: a practical compromise between light-gathering, weight, and cost. Next check focal length: shorter focal lengths (f/4–f/6) give wider fields useful for star clusters and large nebulae; longer focal lengths (f/8 and above) provide higher native magnification better for planets and the Moon.
Think about mounts early in the decision. Alt-az mounts move intuitively up/down and left/right and are easiest for beginners. A Dobsonian is a type of simple alt-az mount that pairs especially well with medium to large reflectors for stable viewing. Equatorial mounts are more complex but useful if you plan to track objects for casual long-exposure astrophotography. Evaluate build quality: metal tripods and solid bearings make aiming and tracking less frustrating than thin, flexible legs or loose knobs. Weight and portability matter: consider whether you can comfortably lift the tube and tripod and whether the package fits in your car for trips to darker skies.
Inspect included accessories and eyepieces — many kits bundle at least one wide-angle and one medium-power eyepiece; a Barlow lens (2x) effectively doubles your eyepiece assortment. A simple red-dot or reflex finder is invaluable for initially locating objects; a magnifying finderscope helps if you want more precision. For reflectors, confirm how collimation is performed and whether the seller includes basic tools or clear instructions. Read multiple user reviews to learn about real-world performance, customer support, and common issues. Finally, set a realistic budget and stick to it: prioritize aperture and a solid mount over fancy extras that add little to first-year enjoyment.
Best All‑Around Beginner Telescope: Comfortable, Versatile, Low Maintenance
The best telescope for beginners in this all-around category is one that balances ease of use, optical performance, and the ability to grow with the observer. Two common, highly recommended approaches are a 6″ Dobsonian reflector and an 80–100 mm refractor. A 6″ (150 mm) Dobsonian delivers noticeably brighter, higher-resolution views of deep-sky objects (galaxies, nebulae) than smaller scopes, while remaining simple to operate: set the base on the ground, place the tube in the cradle, and point. The large aperture gathers more light so faint fuzzies become visible under decent skies, and the Dobsonian mount’s low center of gravity gives stable, comfortable viewing for extended sessions.
Alternatively, an 80–100 mm refractor offers sealed optics, excellent contrast for lunar and planetary observing, and minimal maintenance since there is no collimation of mirrors to worry about. Refractors typically give sharper views at higher powers and perform especially well in light-polluted or near-city conditions for planets and double stars. Both styles benefit from a small collection of eyepieces that cover roughly 25–50× (low power) and 75–150× (medium–high power) viewing, plus a red-dot finder for quick target acquisition. Practical extras include a comfortable observing chair, a dew shield for refractors, and a simple planisphere or mobile app to identify targets. Either choice provides a comfortable, versatile, low-maintenance platform that beginners can use for years and slowly upgrade with better eyepieces, filters, or a motorized tracking base if desired.
Best Budget Option: Maximum Value For Less Than $200/$300
For beginners on tight budgets, good value can be found under $200–$300 by prioritizing aperture and optical quality over flashy features. Two reliable budget formats are 70–80 mm refractors and compact tabletop reflectors (around 4.5″ or 114 mm). A 70–80 mm refractor is lightweight, portable, and delivers crisp lunar and planetary views; it is great for quick sessions from a backyard or balcony and requires almost no upkeep. Tabletop reflectors squeeze more aperture into a small package, giving brighter views of star clusters and some brighter deep-sky objects while remaining cheap and easy to carry.
When buying a budget scope, avoid kits that advertise unrealistic maximum magnifications; cheap optics break down at high powers, producing fuzzy images. Instead, look for clean, well-machined focuser action, at least one wide-angle eyepiece (≈25–30 mm), and a sensible finder system (red dot or small magnifying finderscope). Check the return policy and customer support in case the alignment or build quality needs attention. Common, inexpensive upgrades that substantially improve the experience include a better eyepiece (wide field or orthoscopic for planets), a simple 2× Barlow to extend magnifications, and a basic observing chair. Most importantly, remember that observing conditions (dark sky, steady seeing) and practice matter more than expensive gear: learning star-hopping and using low power first will give the most satisfying views from budget instruments.
How To Set Up, Collimate, And Find Your First Targets Tonight
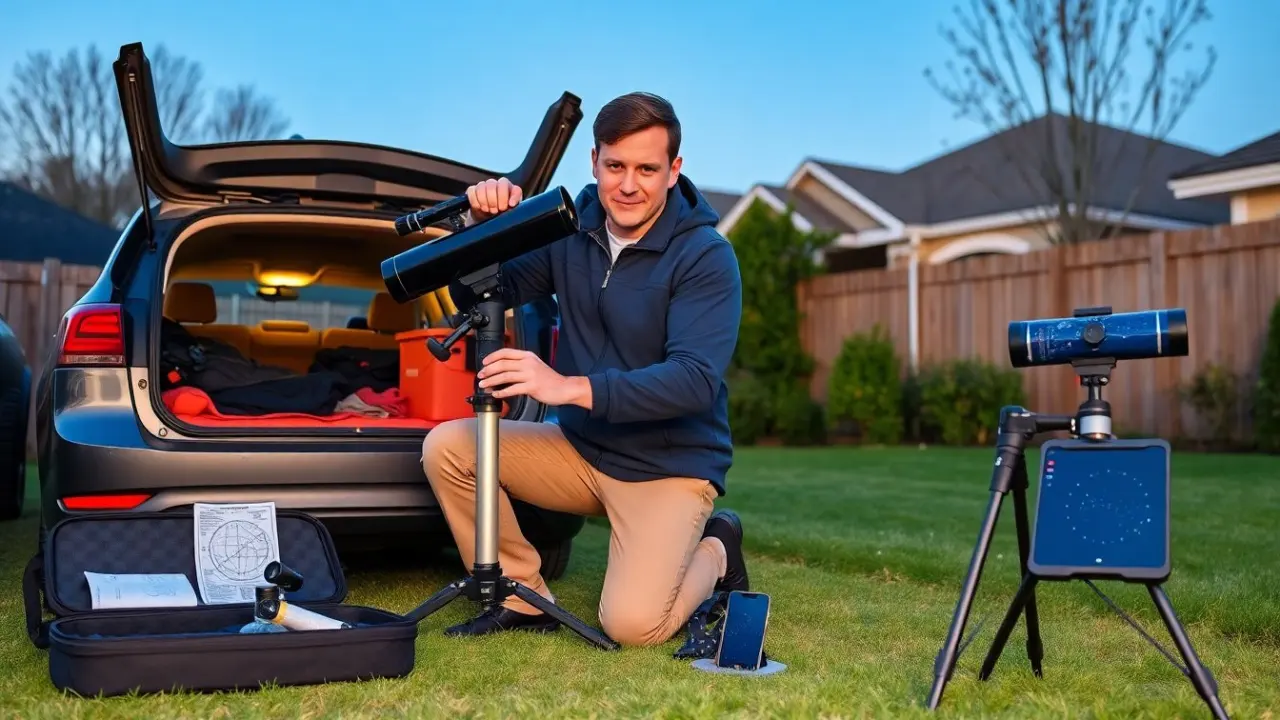
Pick an observing spot with the least local light pollution you can reasonably reach. Even a suburban backyard away from direct lamps improves contrast. Set the tripod or base on firm, level ground and tighten leg locks so the mount sits stable. During daylight, attach and align the finder: aim the telescope at a distant, high-contrast target (a telephone pole, rooftop corner, or distant tree) and center it in the main eyepiece, then adjust the finder so it points to the same spot. This daytime alignment makes night-time target acquisition much faster.
If your telescope is a reflector, check and, if necessary, collimate the optics before your first night out. Basic tools include a collimation cap, Cheshire eyepiece, or a simple collimation laser; if you don’t own these, many reflectors arrive reasonably aligned but will need fine-tuning after transport. For a quick star test, defocus a bright star and look for symmetrical rings — obvious misalignment or off-center patterns indicate the need for adjustment. Allow the telescope to reach ambient temperature for at least 20–30 minutes (longer for larger mirrors) to avoid thermal currents that blur images.
Start observing with a low-power eyepiece (wide field) to make locating objects easier, then increase magnification for detail once the target is centered. The Moon and bright planets (when visible) are ideal first targets: they are bright, easy to find, and rewarding even at low power. Use a phone app or printed chart to plan a short list of targets for the night: pick one bright object per session to avoid frustration. Move the scope smoothly, make small nudges, and lock any clutches or slow-motion controls once the object is centered. Take notes or sketch what you see — this helps you notice improvements as your observing skills and equipment familiarity grow. Finally, visit local astronomy club star parties or online communities to learn observing tips, loan tools, and join group sessions where experienced members can demonstrate collimation, tracking, and target-finding techniques in person.