Satellite internet for RVs lets people get online where cell towers do not reach. It connects an on-vehicle terminal to satellites in orbit. It delivers web access for work, streaming, navigation, and smart devices. This article explains how satellite internet for RVs works, its trade-offs, and how to pick and set up a system for reliable service on the road.
Key Takeaways
- Satellite internet for RVs provides reliable connectivity in remote areas where cell service is unavailable, making it ideal for work, streaming, and navigation on the road.
- Choosing between geostationary and LEO satellites impacts latency, speed, and coverage, with LEO offering lower latency but typically at a higher cost.
- Installation requires careful antenna placement with clear sky view and proper power management to ensure stable internet performance while traveling.
- Evaluate satellite internet plans by comparing coverage maps, latency, data caps, costs, and hardware options tailored to your travel regions and usage needs.
- Auto-pointing or flat-panel antennas simplify setup and improve convenience, especially for frequent travelers and LEO satellite networks.
- Regularly test connection speeds and keep hardware firmware updated to maintain optimal satellite internet service for your RV.
How Satellite Internet For RVs Works: The Basics
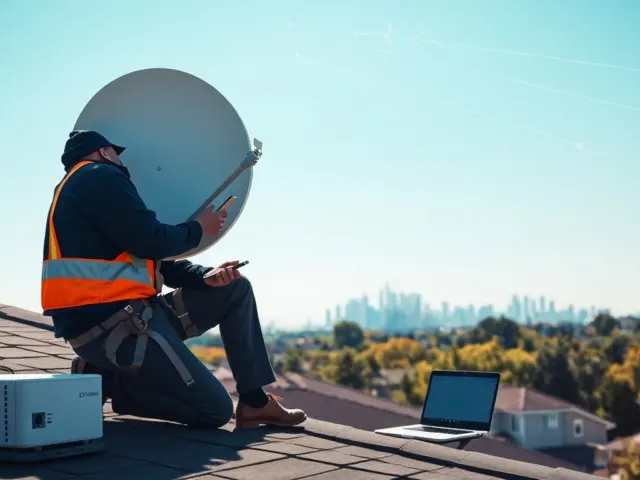
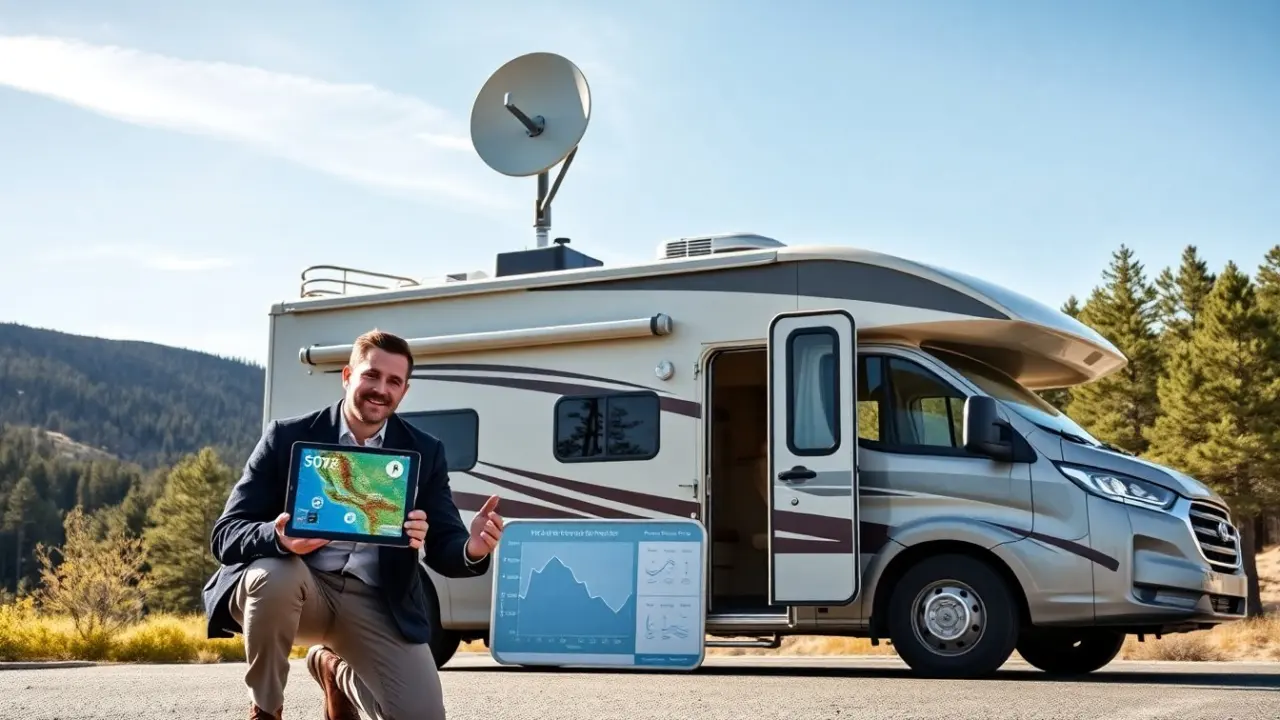
A satellite internet for RVs system uses a dish or flat antenna on the vehicle. The antenna sends and receives radio signals to a satellite. The satellite relays data to a ground station that connects to the internet backbone. The system includes a modem or router inside the RV. The router shares internet to phones and laptops. Users point the antenna toward the correct satellite or use auto-pointing mounts. The service requires a subscription with a satellite provider. The provider assigns bandwidth limits and handles traffic routing.
Geostationary Vs. LEO Satellites: Pros, Cons, And Practical Differences
Geostationary satellites sit over one spot above the equator. They provide wide coverage and stable links. Geostationary systems for RVs often offer consistent service but higher latency. LEO satellites orbit closer to Earth and move fast. LEO systems reduce latency and improve response for video calls and gaming. LEO systems need many satellites for continuous coverage. Geostationary dishes can be larger but need less handover logic. LEO terminals often use phased-array or motorized antennas that track multiple satellites. Cost, latency, and coverage shape the practical choice. RVers choose based on camping locations and their speed and latency needs.
Benefits And Limitations Of Using Satellite Internet In An RV
Satellite internet for RVs gives access in remote areas and on rural roads. It supports work, video calls, and map updates where cell service is absent. The system provides predictable coverage along highways and public lands. Satellite internet for RVs has limits. Geostationary service shows noticeable lag on interactive apps. Some plans include strict data caps or speed tiers. Weather and line-of-sight affect reliability. Antenna obstruction from trees or bridges reduces performance. Installation and hardware cost can exceed mobile hotspots. Users must weigh those limits against the ability to stay online off-grid.
How To Choose The Right Satellite System For Your RV
Buy a satellite internet for RVs system based on travel style and budget. First, list common camping regions and check provider coverage maps. Second, set priority for latency, peak speed, and monthly data. Third, choose a terminal type: manual, auto-pointing, or flat-panel. Manual dishes cost less but need frequent aiming. Auto-pointing units simplify setup and save time at each stop. Flat-panel terminals work well for LEO networks and can stay affixed to the roof. Fourth, compare service contracts, hardware warranties, and transfer options for resale. Fifth, read user reports for real-world reliability on similar routes.
Key Factors To Compare: Coverage, Latency, Data Caps, And Cost
Compare coverage maps for satellite internet for RVs before buying. Check map detail for parks, forests, and mountain regions. Measure latency in milliseconds for the provider when possible. Lower latency helps video calls and remote desktop work. Review monthly data allowances and overage fees. Some plans throttle speeds after a usage threshold. Add hardware cost, installation fees, and mount options into total price. Consider whether the provider allows temporary upgrades for peak-use months. Factor in customer support hours and replacement policies for damaged antennas.
Installation, Power, And Setup Tips For On-The-Road Reliability
Mount the antenna on a stable roof point with clear sky view. Test the dish rotation or auto-pointing routine at home before travel. Route coax and power cables to avoid pinch points. Use surge protection and a quality inverter for AC-powered terminals. Carry spare connectors, a compact level, and basic tools. For power, monitor battery load and plan charging from the vehicle alternator or a generator. Park with the antenna clear of trees and awnings. Run speed tests after setup to verify expected throughput. Keep firmware updated and document serial numbers for support calls.
Real-World Plans, Pricing, And Speed Expectations For RVers
Satellite internet for RVs plans vary by provider and technology. Geostationary plans often start with modest monthly fees and offer speeds from 10 to 100 Mbps down. LEO plans typically deliver 50 to 300 Mbps with lower latency and higher monthly cost. Data caps range from small daily allowances to large pooled plans for heavier users. Hardware costs run from a few hundred dollars for simple dishes to several thousand for advanced terminals. Promotional bundles may reduce upfront price for year-long contracts. RVers should test service in target areas and choose a plan that matches their average monthly data use and speed needs.